TTL and Lightmeter
Introduction
In the previous article, we introduced the Guide Number and took a first look at the manual operation of a flash (Manual Mode). However, many modern flash units offer automatic features that significantly simplify their operation and make exposure control easier.
In this article, we will explore one of the most important of these features: TTL (Through-The-Lens) metering, and see how it can help us in everyday photography.
Next, we will examine how to measure light quickly and accurately when using multiple flash units and light modifiers, such as umbrellas and reflectors, with the help of an external light meter. This will allow us to control the output of each light source more precisely and achieve the desired balance in our lighting setup.
TTL Mode in Electronic Flash Units
TTL (Through-The-Lens) is the automatic operating mode of electronic flash units in which the camera automatically determines the amount of flash illumination required and communicates the necessary information to the flash to adjust its output power.
The basic operating principle is as follows:
When we press the shutter button, the flash emits a very brief pre-flash before the main flash. The light from the pre-flash reflects off the subject and enters the camera's metering system through the lens. The camera analyzes the amount of reflected light and calculates how much additional flash energy is required for the main exposure.
The flash then emits the main burst at the calculated output level, completing the exposure.
This entire process takes place in an extremely short period of time. For this reason, the two flashes are usually too close together for the human eye to perceive them as separate bursts of light.
The main practical advantage of TTL is that, as the subject distance, aperture, ISO, or other shooting parameters change, the camera can automatically adjust the required flash output without the photographer having to calculate the power setting manually each time.
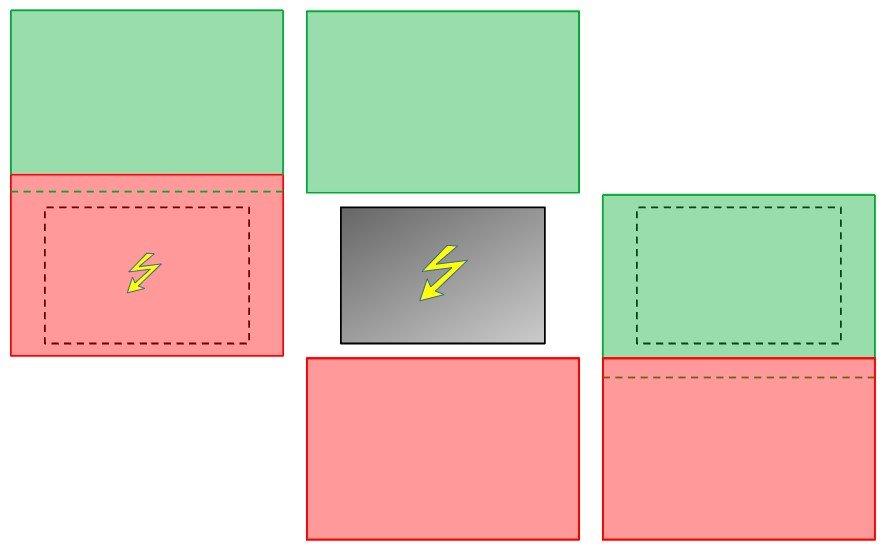
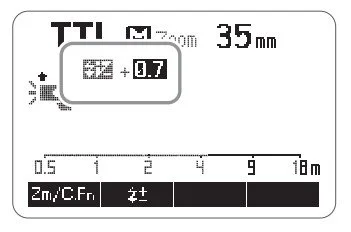
Although TTL mode operates automatically, it allows the photographer to increase or decrease the flash output as desired using Flash Exposure Compensation (FEC).
The image below shows a +0.7-stop increase in flash output on a Godox TT685 flash unit.
To ensure proper TTL operation, it is important to understand that the camera's metering mode can influence how the required flash output is calculated.
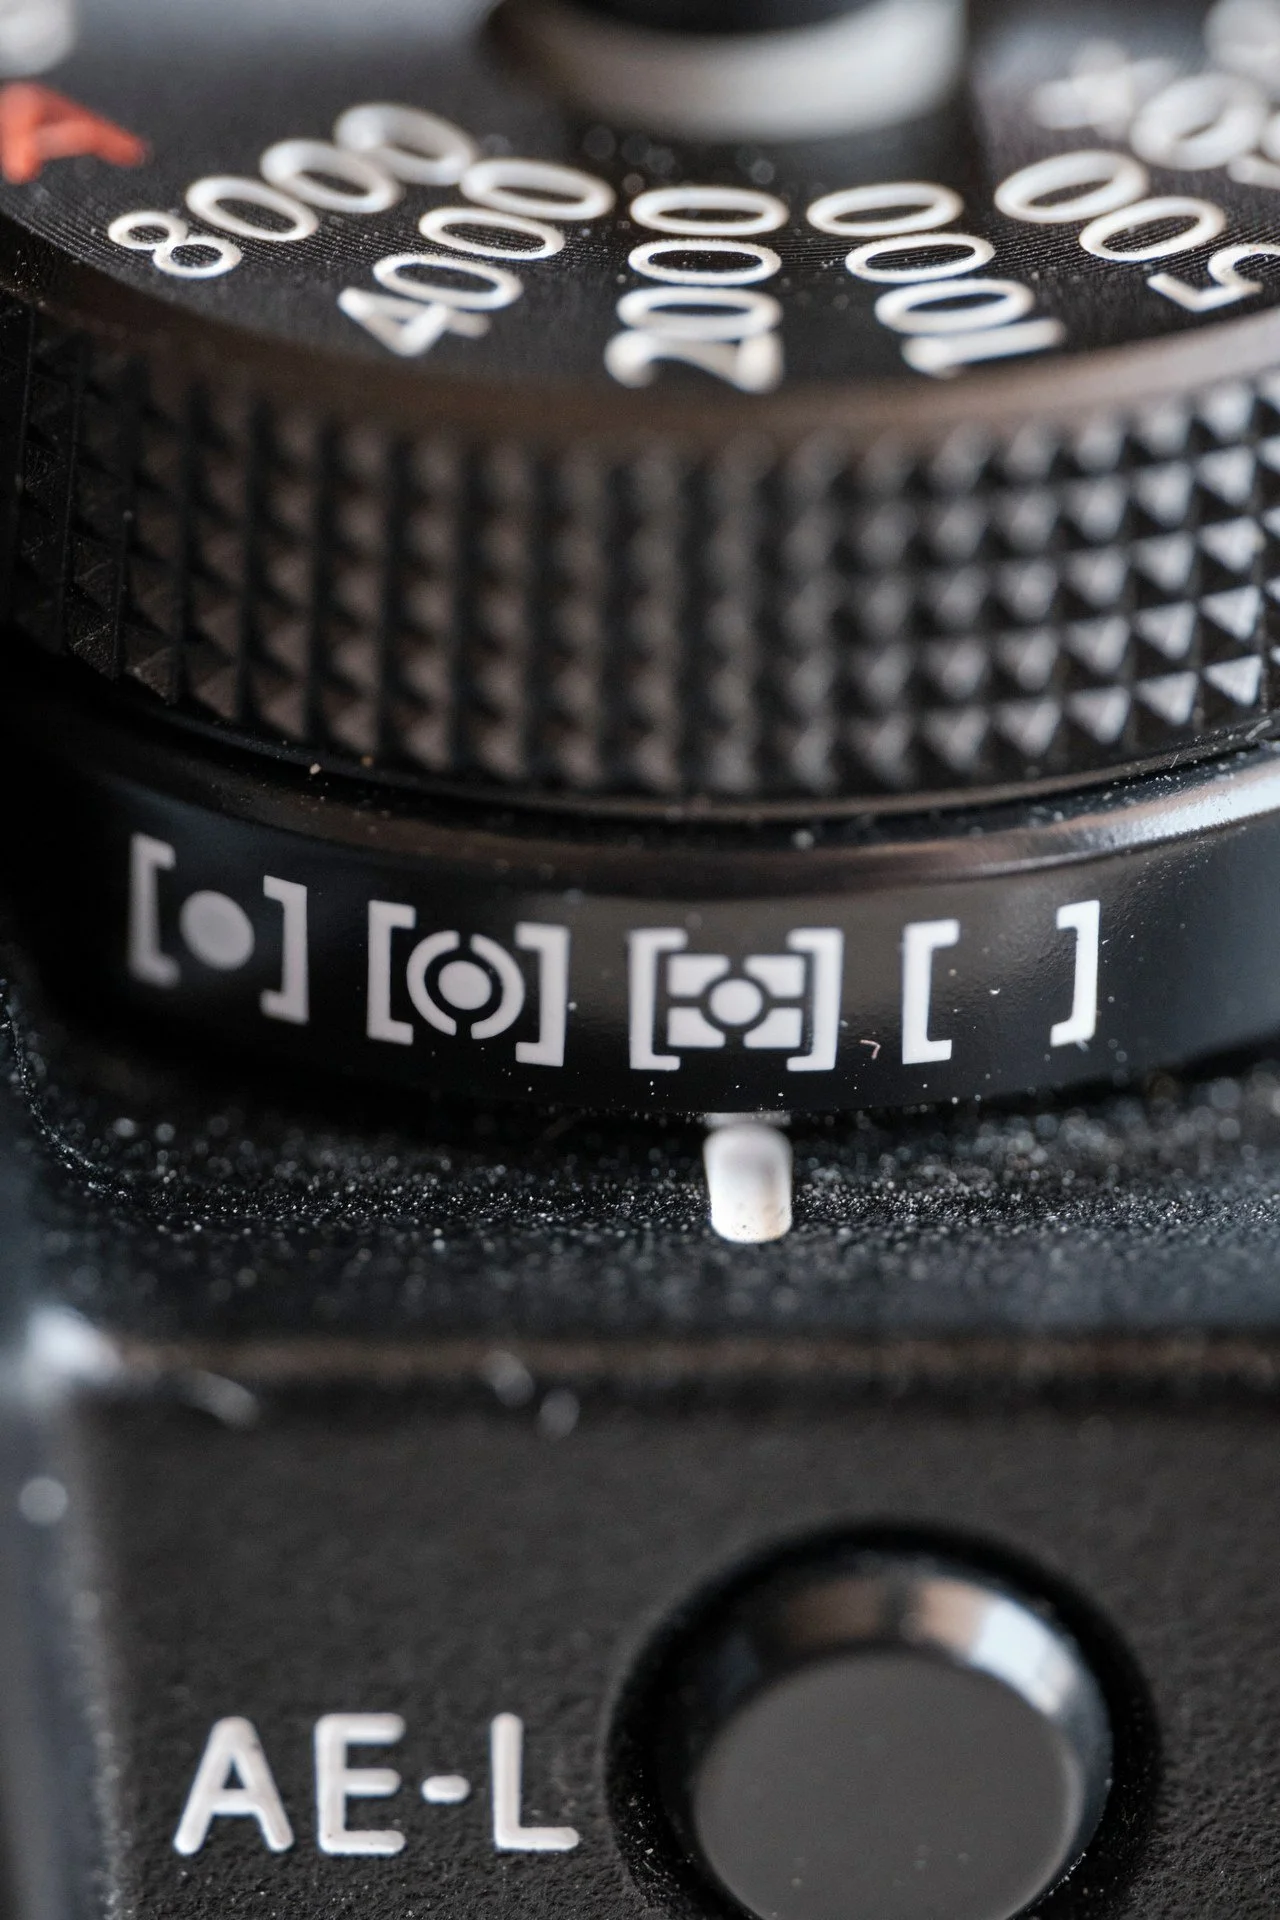
In most modern systems, TTL metering works well with multi-zone metering, which is referred to as Matrix on Nikon cameras, Multi on Sony, Evaluative on Canon, Multi on Fujifilm, and Multi-metering on Panasonic.
Spot Metering and Center-Weighted Metering can produce different flash output calculations, depending on the camera system and TTL implementation. This is particularly noticeable when the subject or the metered area differs significantly in brightness from the rest of the frame.
For this reason, as a general rule, multi-zone metering is a reliable starting point when using TTL and allowing the camera to evaluate the scene as a whole.
Tilting and Swiveling the Flash Head
The flash head is the upper part of the flash unit from which the light is emitted. On many external flash units, it can be moved in different directions.
Tilt: The flash head moves up and down. For example, we can point it toward the ceiling so that the light bounces off it and illuminates the subject more softly.
Swivel: The flash head rotates to the left and right, usually independently of the flash body. This allows us to direct the light toward a side wall or continue bouncing it off the ceiling when holding the camera in portrait orientation.
Simply put:
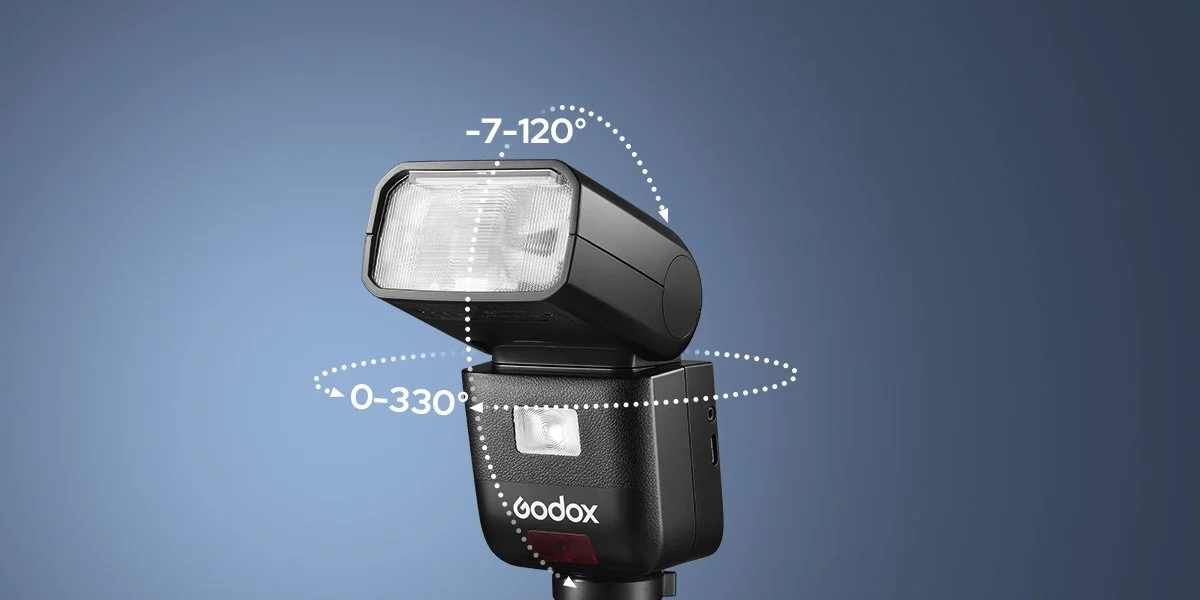
Tilt = Up ↕ Down
Swivel = Left ↔ Right
The combination of tilt and swivel allows photographers to direct the flash output where they want it, rather than being restricted to illuminating the subject directly from the front.
It enables light to be bounced off walls or ceilings, spreading and diffusing it over a larger area. This helps reduce harsh shadows and the hard, direct light that can fall on a subject's face, resulting in softer, more natural-looking illumination.
However, bouncing light off walls or ceilings has one drawback: it reduces the amount of light that ultimately reaches the subject. The amount of light lost depends on the distance, size, and colour of the reflecting surface, as well as its reflectivity.
This loss must be taken into account when manually adjusting flash power. In such situations, TTL mode can be particularly useful, as the camera and flash metering system automatically calculates the required flash output for the exposure.
This is especially practical when photographing events indoors, where distances and lighting conditions are constantly changing.
Metering with an External Light Meter
In many situations, especially in studio photography, multiple flash units are used. The goal is not to make the process more complicated, but rather to assign each flash a clear and specific role.
Once the key light establishes the primary illumination and defines the subject's form, additional light sources can be used to control fill light, separate the subject from the background, emphasize contours, adjust the background tone, and so on.
Each flash must therefore have a predetermined intensity ratio relative to the others, a specific distance from the subject and, potentially, a different light modifier. In such a complex setup, relying on the Guide Number or even TTL mode cannot provide the level of precision and control required.
In this situation, an external light meter can be extremely useful.
The procedure is as follows:
Select a shutter speed, usually the camera's flash sync speed.
Select an ISO value, preferably a relatively low one.
Set the power level of each flash.
Set the external light meter to flash metering mode.
Enter the selected ISO value into the light meter.
Enter the selected shutter speed into the light meter.
The subject holds the light meter in front of their face while keeping the measurement button pressed as we take a test shot. The light meter then displays the appropriate aperture value for the lens.
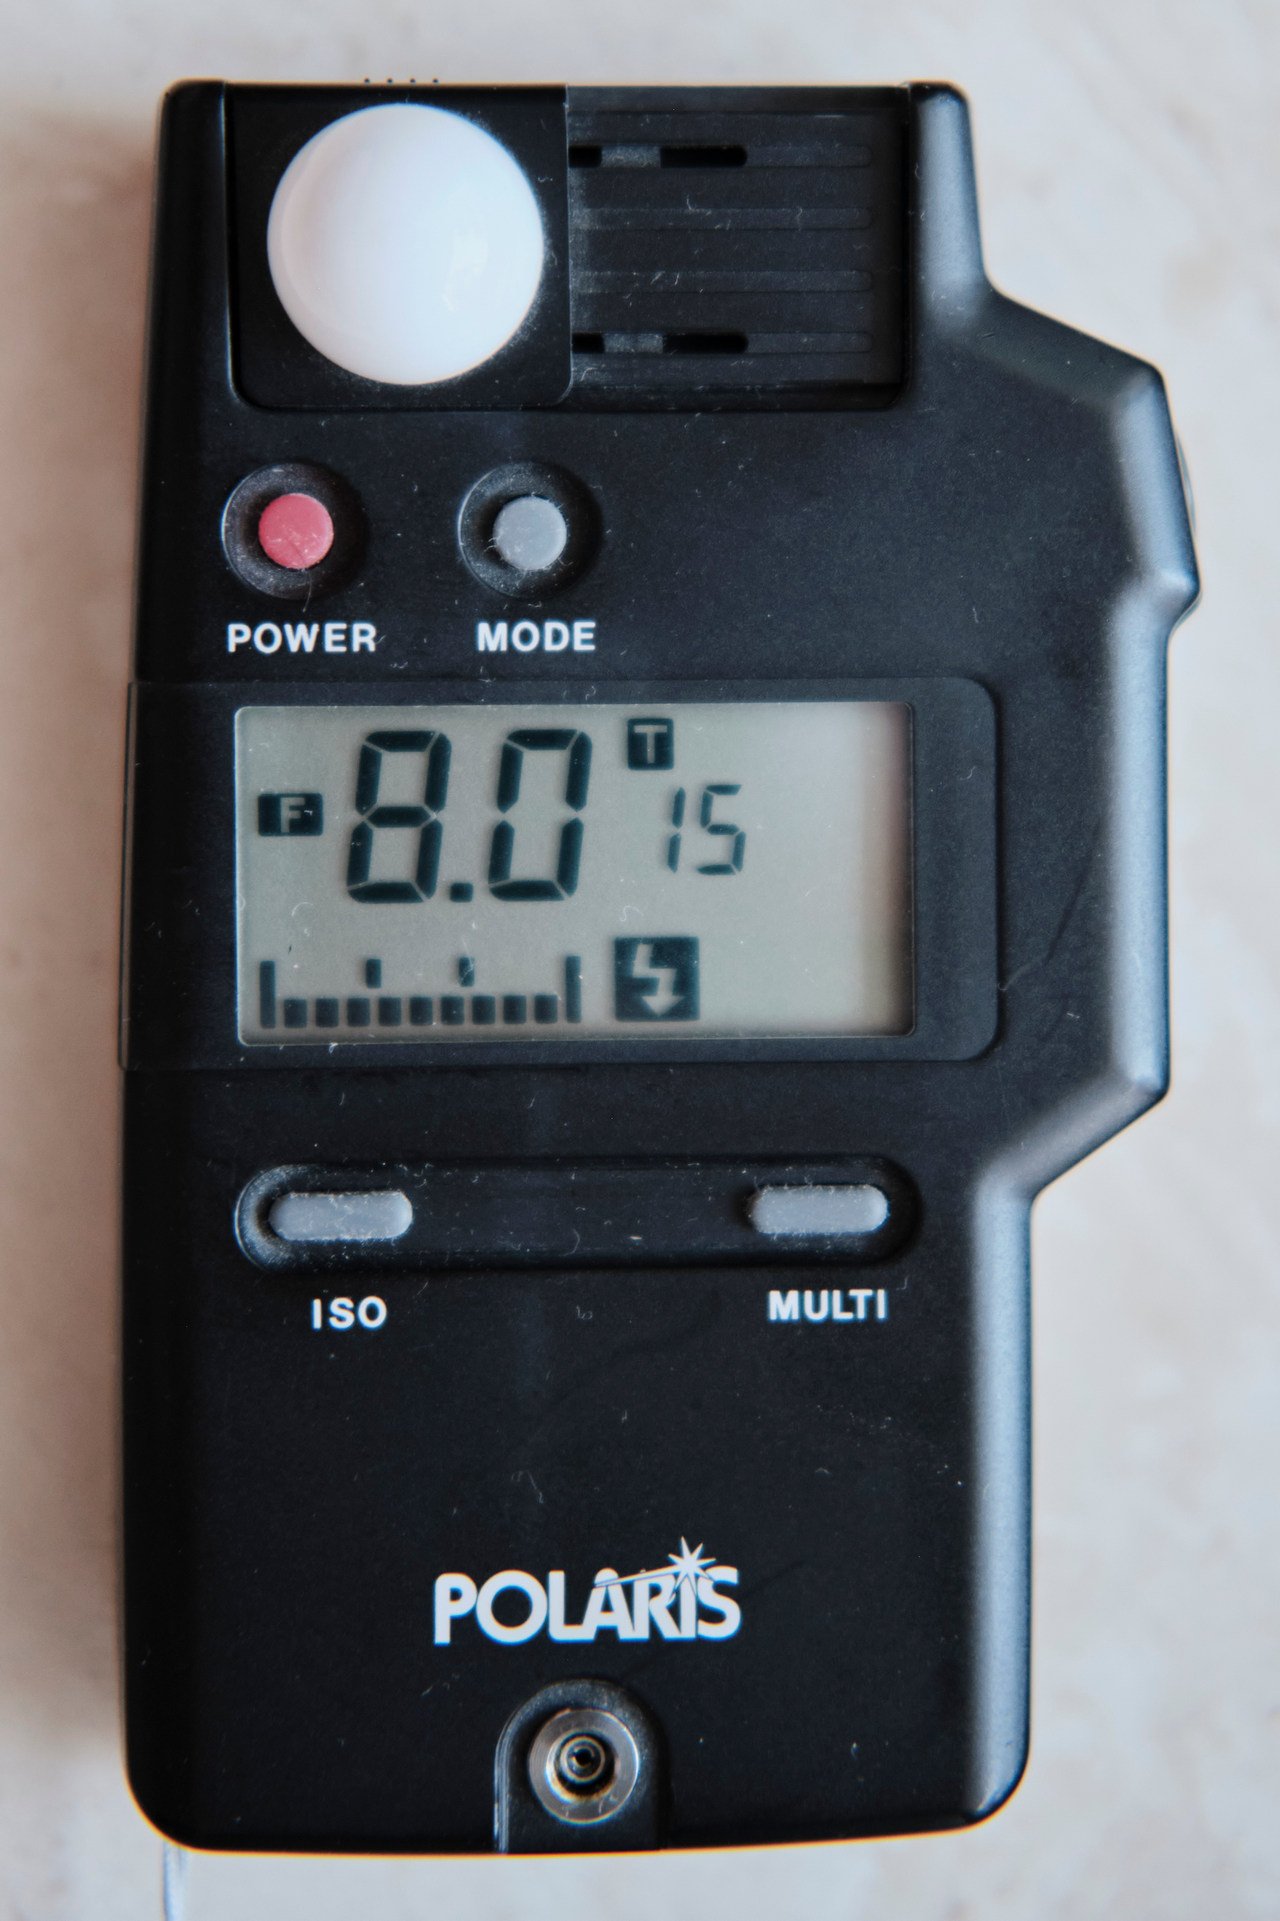
The image below shows a Polaris external light meter set to flash metering mode. It has measured a flash burst and indicates f/8 as the appropriate lens aperture.